
This article is part of a series of articles covering different Opening Variations. You can find the complete list of Openings/Variations covered on the following link.
Table of Contents
Introduction
After covering the McCutcheon Variation of the French Defence in the previous article, today, we are going to continue our explorations of the 4.Bg5 Classical French by analyzing another very topical 4th move by Black – 4…Be7, that very often leads to a very popular and sharp gambit, called The Alekhine-Chatard Attack.
The Alekhine-Chatard Attack
Overview and main ideas
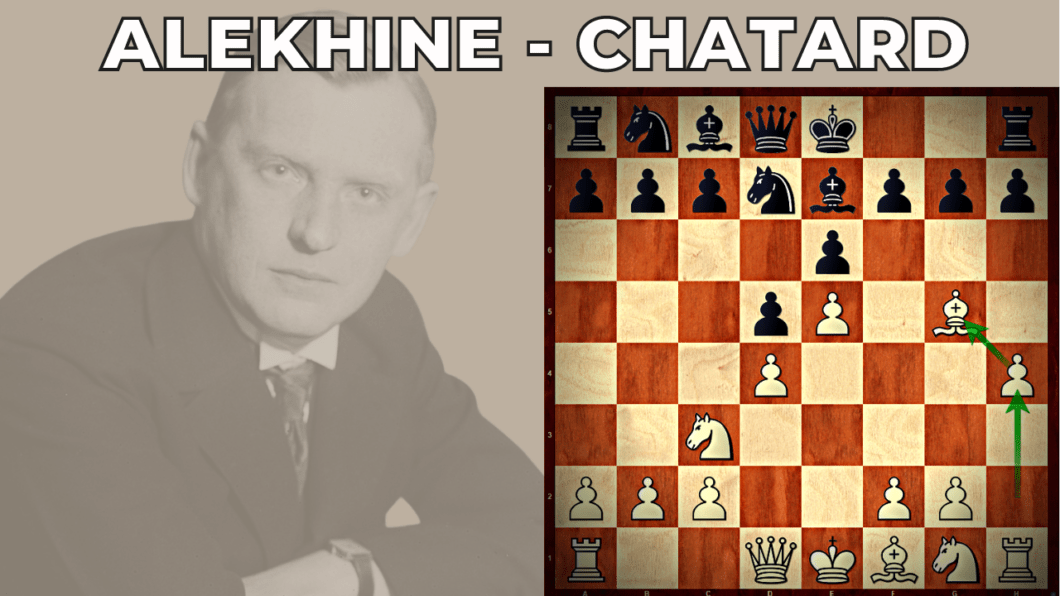
As mentioned earlier, the main variation analyzed in this post will be the variation of the French Defence that arises after the moves 1.e4 e6 2.d4 d5 3. Nc3 Nf6 4.Bg5 Be7
The main idea of the move is obviously to break the pin and reinforce the threat to the e4 pawn. White’s most common (and only real reply worth analyzing) is the advance of the e-pawn with 5.e5 when after 5…Nfd7 the following critical position arises:
White has two big options here – the first one is the natural move 6.Bxe7, while the other one is the move 6.h4.
By far the more common and popular move is the latter (6.h4), leading to the so-called Alekhine-Chatard Attack. This move was played back at the end of the 19th and beginning of the 20th century by a strong master of the time Albin – and also by a relatively lesser-known player Chatard – but it was taken seriously only after the game Alekhine – Fahrni, Mannheim, 1914.
White’s idea is to give up the pawn to open up the file for the rook. This variation will be the main focus of this entire chapter.
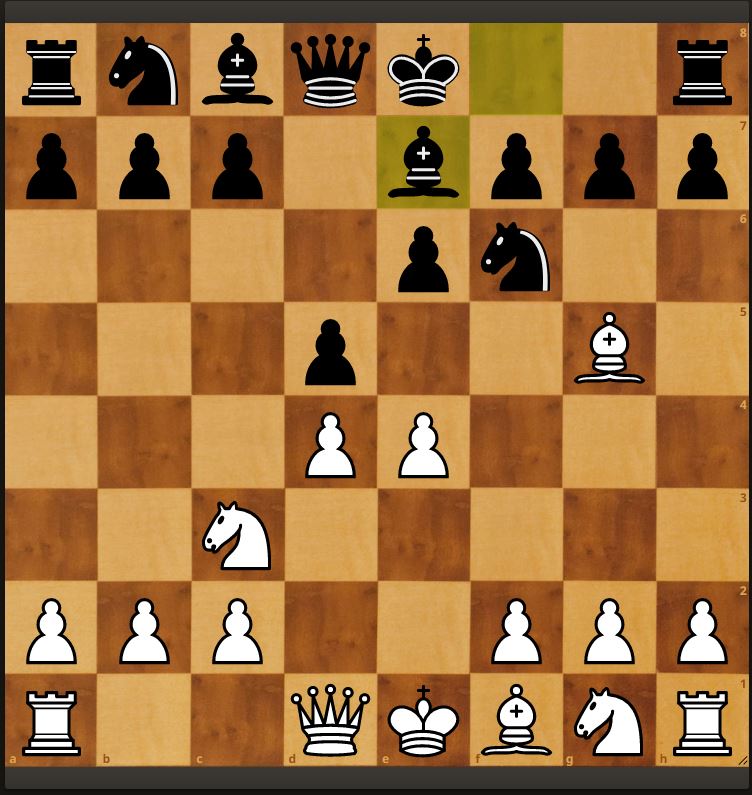
Black declines the sacrifice – 6…c5
Now, before we get to the actual variations where Black accepts the gambit, let’s first take a look at some ways in which Black can try to decline it. One potential way of doing so involves the immediate central counterstrike with c5. It is a very logical French move – but it allows White to demonstrate one of the points behind having the bishop on g5.
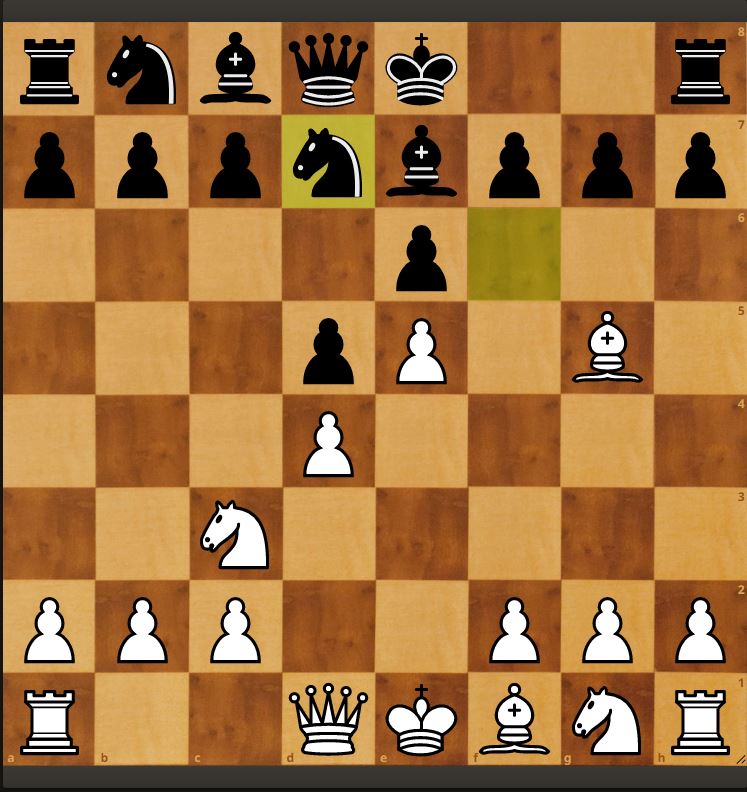
Black declines the sacrifice – 6…a6
In the previous variation, we have seen how pushing c5 immediately can lead to some trouble due to the weakness of the b5 square. Therefore, a logical question is – can Black afford to take a moment to control the square on b5 before pushing c5?
Black declines the sacrifice – 6…h6
Last but not least, Black can try to avoid the gambit by forcing the bishop to move immediately. This seems to be a very solid option available to Black as it forces the issues and it also doesn’t involve the weakening of the queenside (such as the move 6…h6).
Black accepts the sacrifice – 6…Bxg5 7.hxg5 Qxg5
Last but not least – according to Capablanca’s old saying that the best way of refuting the gambit is to accept it – this is the most popular and arguably the critical move in this position. Black accepts the bait and asks White to demonstrate what is the idea. Thus, after 6…Bxg5 7.hxg5 Qxg5 White should remember the non-standard and creative move 8.Nh3!?.
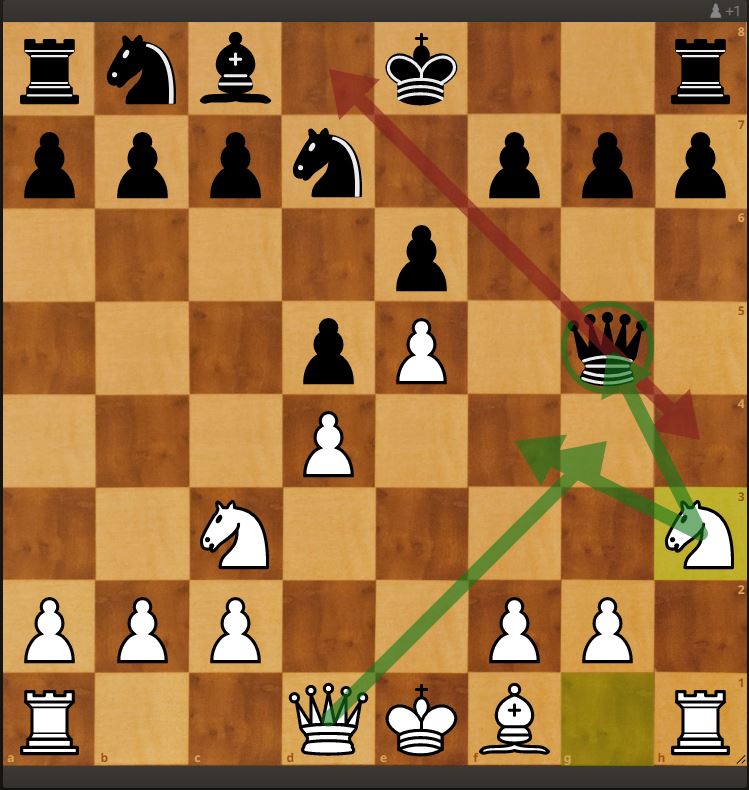
This is a very important move to remember and understand. Instead of going to f3, the knight goes to the “Rim” and attacks the queen. There are two reasons for it:
A) The knight on h3 doesn’t block the queen from reaching g4!
B) The knight on h3 can sometimes go to f4 which may be relevant, while the knight on f3 would be unable to do so.